I learned to can two years ago this fall. With a bit of experience under my belt, I feel the need to tell people who’ve never canned, but want to…it’s not that hard! It’s like regular cooking, but it takes longer and you have to be a little more careful of cleanliness. But way, way doable.
And I LOVE it. Eating food you preserved yourself is so rewarding, delicious and healthy. The ability to control your ingredients at this level is amazing–for example, I generally like jam without too much sugar, so you can still really taste the flavor of the fruit. And I like massive quantities of really good jalapeno jelly that’s just a touch on the hot side. And fresh peaches packed at their peak of flavor, then mixed with spices and left to marinate in the pantry. Mmmmmm. Want some? I made a lot. You should come over.
A bit time consuming, yes. But you really don’t need as much new equipment as you might think, and trust me, YOU CAN TOTALLY DO THIS. This post will explain the tools I use and why. You’ll be pleasantly surprised to learn, your kitchen already has most of the equipment right this minute. So keep an eye out for great produce, and start buying in bulk!
Required canning equipment
Canning jars, lids and rims
Canning jars, commonly known as mason jars, are created specifically for canning. They come in several standard sizes, including quart (4 cups), pint (2 cups), half pint (1 cup) and 4 oz (1/2c). The most common brands today are Ball and Kerr.
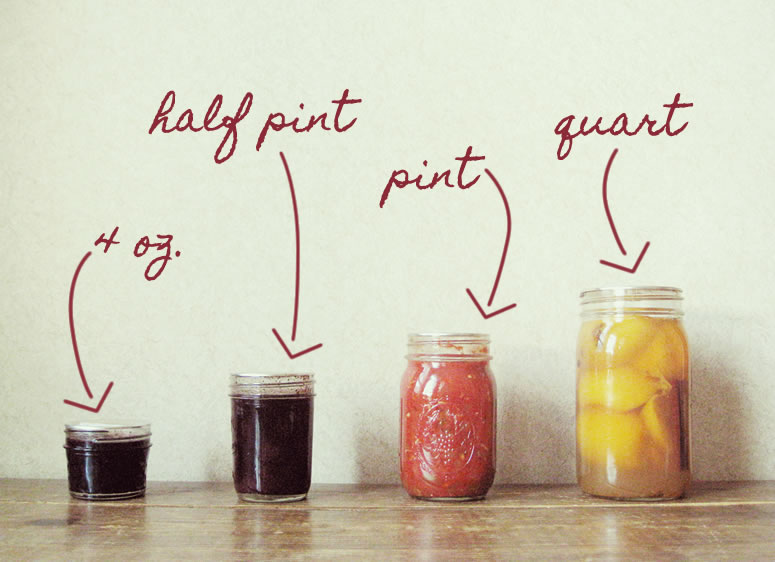
In case you’re curious, from left to right: blueberry jam, sweet holiday cherries, salsa and spiced peaches.
The size you choose will depend on what you’re canning and how much you’ll need to use at one time. I use half pints and 4oz jars for canning jams and jellies; pint jars for things like salsa and pie filling; and a mixture of pints and quarts for things like canned fruit and tomatoes.
You’ll also have a choice of two sizes of the opening at the top of the jar–regular or wide mouth.
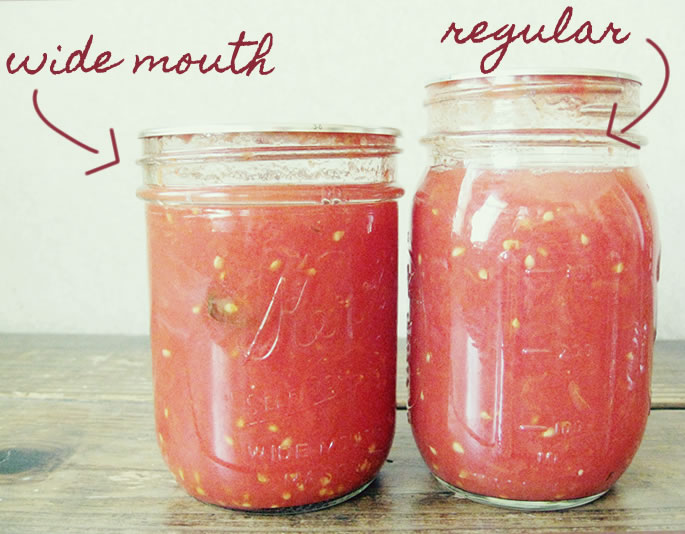
You can use either type of opening for any canning recipe; the main difference is how easy it is to transfer food in and out of the jar. I like to use wide mouth jars when I’m canning large pieces of fruit, like peach halves, because they fit better through the opening. However, most of the time, the type I use depends on what I have on hand.
You can easily find canning jars at most grocery stores, hardware stores or big box stores. I prefer to look for canning jars at thrift shops, because they’re pretty easy to come by, although you need to be a little more patient in building up your supply.
Canning lids are in two pieces, by the way. A lid and a rim. Did you know you’re not supposed to keep rims on your jars after they’re sealed? They can start to rust after a while. True story.
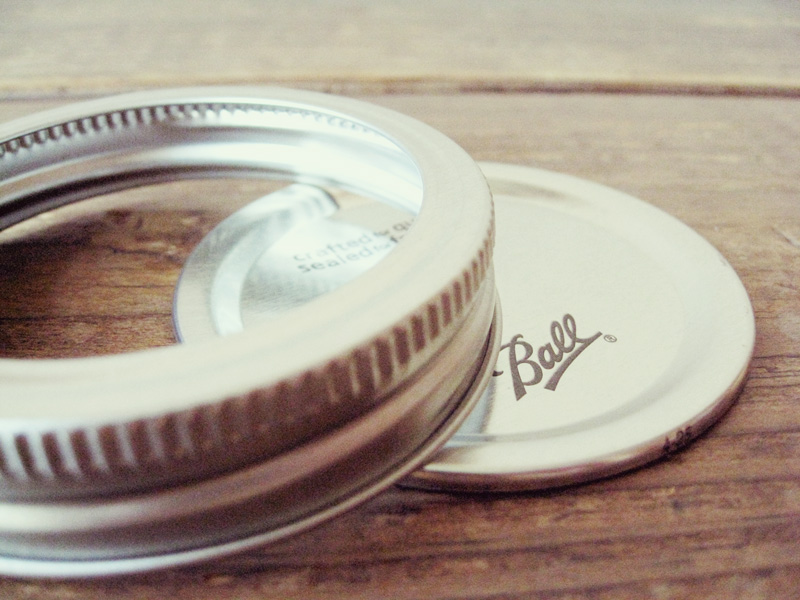
IMPORTANT NOTE: You can re-use jars and rims, but you should use a brand new lid every time you can something. Replacement lids can be purchased with or without extra rims.
Water bath canner
(or large pot with a lid, and a rack)
I use a large kettle that’s made specifically for canning, known as a “water bath canner” which will can pint jars. I bought it at Menards for about $30, as I recall.
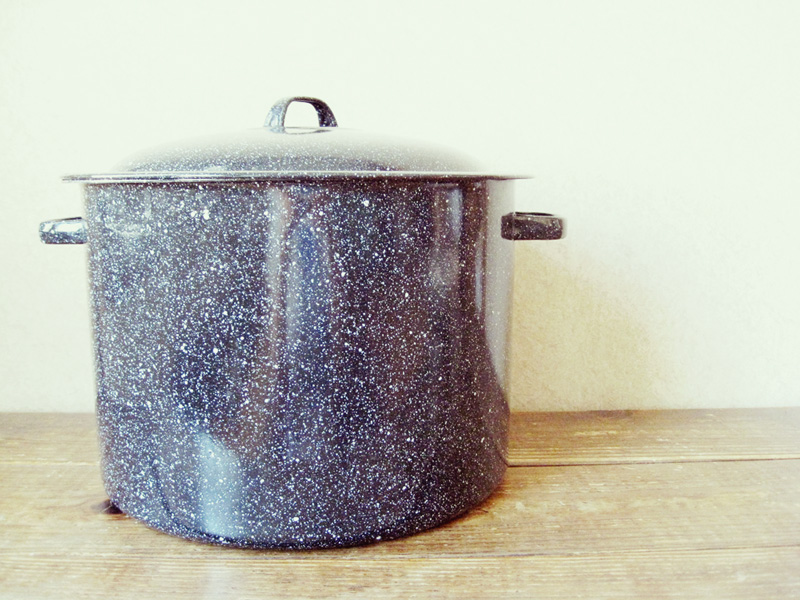
It came with a rack that fits seven jars. I am able to can 4 oz, half pint and pint jars with this canner.
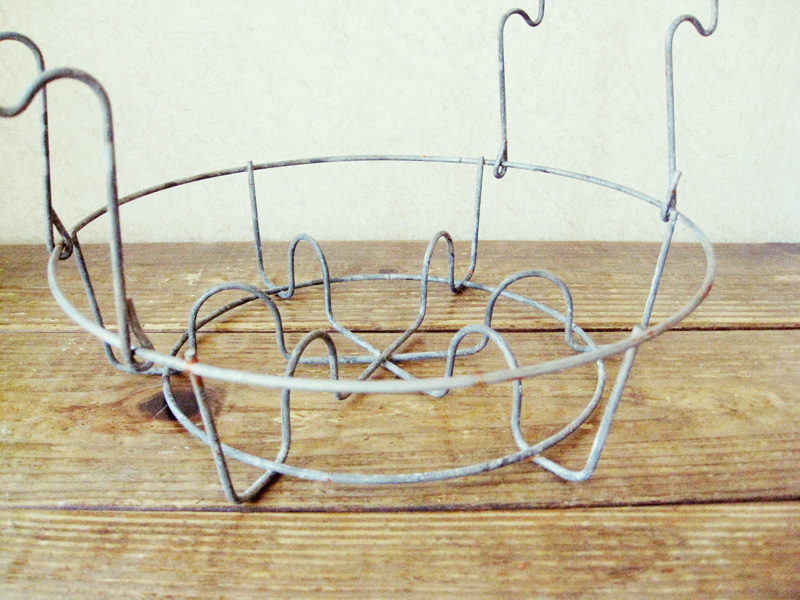
If you aren’t ready to buy a canner, you can simply use a large stock pot for small batch canning like I did when I started out. In most cases, you’ll be limited to canning 4 oz jars and half pint quantities, but it’s great for learning (and for small kitchens). In place of a rack, you can attach several jar rims together with paper clips and place it at the bottom of the pot, which will keep the jars from resting on the bottom of the pot. It’s very important to have a rack in your canning pot; if your jars rest directly on the bottom of the pot, they can crack open.
I also have a larger canner that I bought at a killer garage sale for $5, which will accommodate quarts–these are more difficult to come by, so if you see one, snatch it up!
If you’re planning to can a food with low acidity, such as meat, corn and some vegetables, you will need a pressure canner. I’ve never done any pressure canning, so I can’t tell you if there are any extra tools needed. It’s on my list, though.
Jar lifter
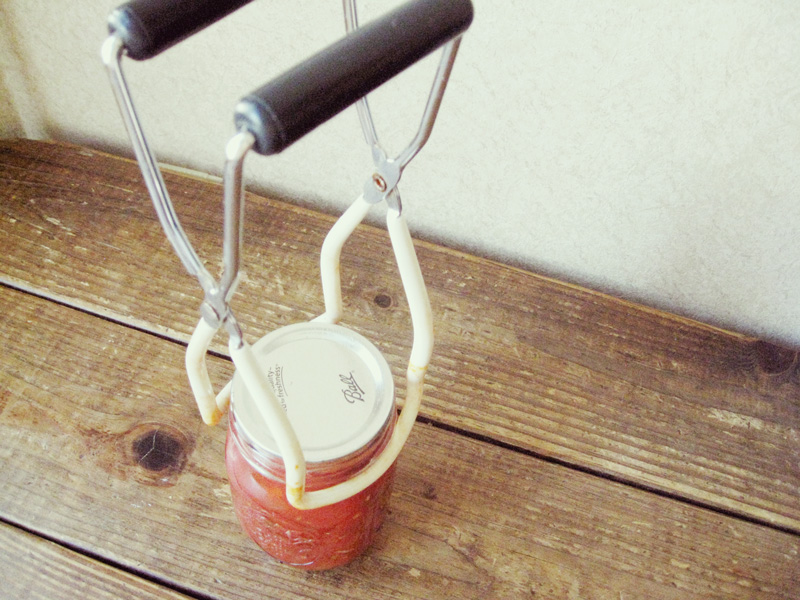
While this isn’t technically “required equipment”, I’m putting the jar lifter in this section because it makes the process much easier, safer, and it generally costs less than three dollars. A jar lifter has a rounded end coated in rubber that will securely grab a mason jar when it’s in the hot water so you can transfer it out of the canner without it slipping. You could get away with using tongs with rubber bands around the ends, but having used both, I’d highly recommend investing in a jar lifter. You won’t be sorry.
Things you probably already have
Most of the other equipment you’ll use for canning is already in your kitchen.
Dutch oven or large stock pot
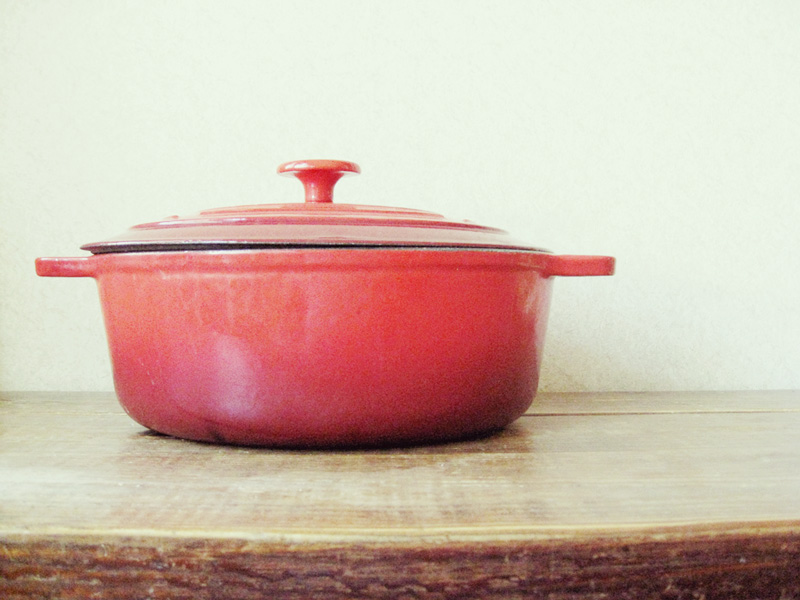
This is used for cooking the food that you will be canning. When it comes to this pot, bigger is better. Mine is an enameled cast iron dutch oven, which is great because a) it’s large, which means lots of surface area for recipes that require that the liquid evaporate, b) the cast iron heats more evenly than other types of metal and c) the enamel cleans up really easy.
A stir stick or chopstick
Have I stumped you on this one? What do you think it’s for?
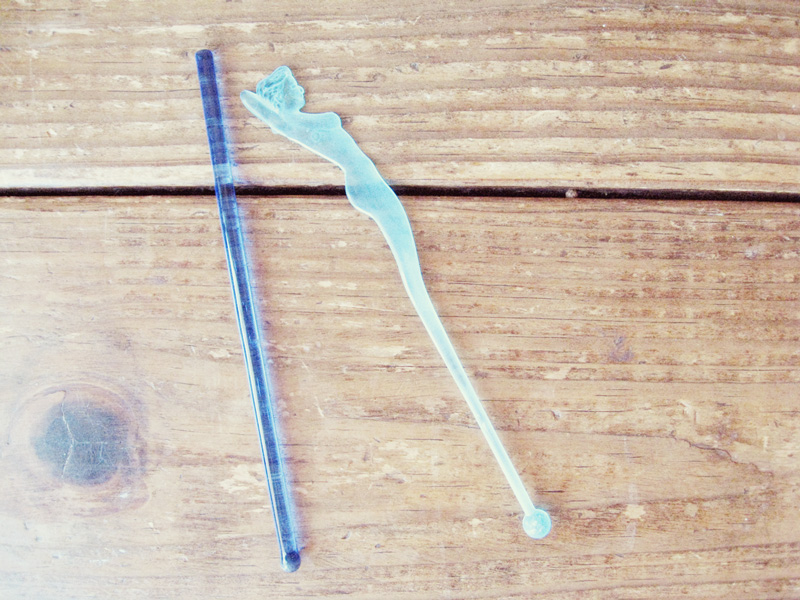
Before sealing your filled jars, you’ll need to slide this little tool down the inside edges of the jar to get rid of little air bubbles. Chopsticks will do the job, I use one of these stir sticks–the one on the left is a glass swizzle stick (great name, huh?) and the one on the right is a naked lady drink stirrer that I brought back from a trip to Spain. As you can see, anything goes for this tool.
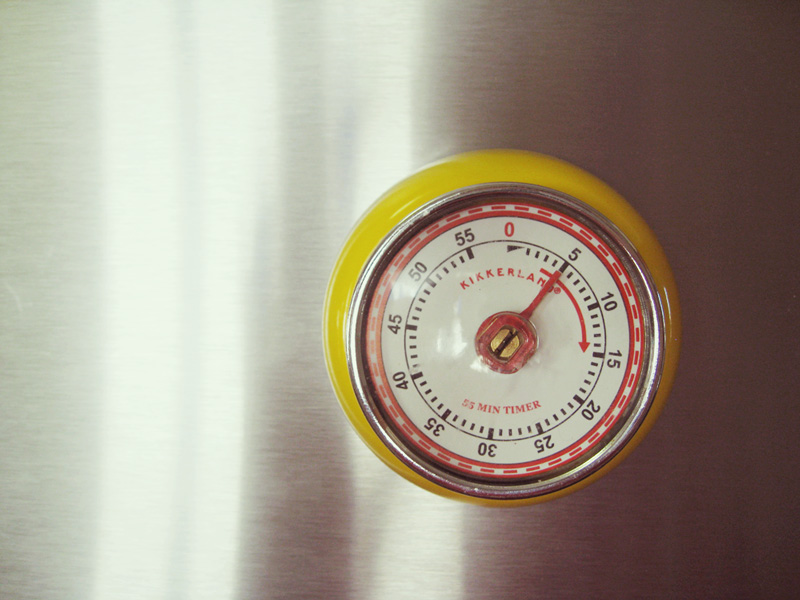
A kitchen timer
Everybody has one. The hardest part is remembering to set it when you are supposed to. (I adore mine; you can get it here.)
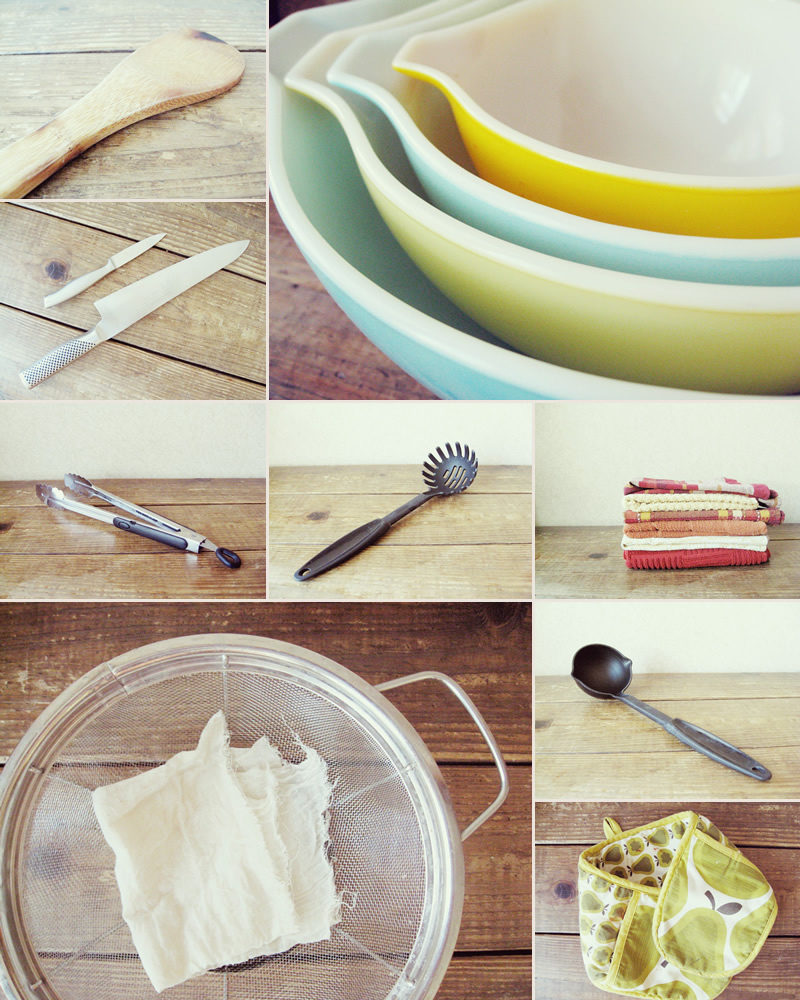
Wooden spoon
For mixing jam and jelly and stirring salsa…
Mixing bowls
Various sizes, used for mixing ingredients and holding fruit while you cut, peel and such. (Vintage Pyrex is my favorite.)
Sharp knives
I consistently use a paring knife (the smaller one) and a chef’s knife when I’m preparing food for canning. The paring knife is for cutting off bad parts of fruit, peeling off skin and things like that. I use the chef’s knife for quartering and chopping.
Tongs
When you’re canning, tongs are like superman fingers for reaching into hot places without getting burned. I keep them handy for taking lids off pots and reaching into hot jars to readjust large pieces of fruit.
A slotted spoon
This is handy particularly for canning whole pieces of fruit or tomatoes where you need the liquid to drain off.
Lots of clean towels
Canning is messy! Wipe your hands, place hot jars on them so the jars don’t ruin your countertop, clean up messes, and so on.
A strainer and/or cheesecloth
Useful particularly for making jelly when you need to strain seeds out of your mixture.
Ladle
For transferring food into your jars.
Oven mitts
Mine are connected in one long piece, which is more handy than you can imagine….I can’t tell you how many times I think, “Now where is my potholder?” when I’m canning, because I drop it in random places in the kitchen. If the two mitts weren’t connected, I’d never find them. But that’s just me.
Nice to have
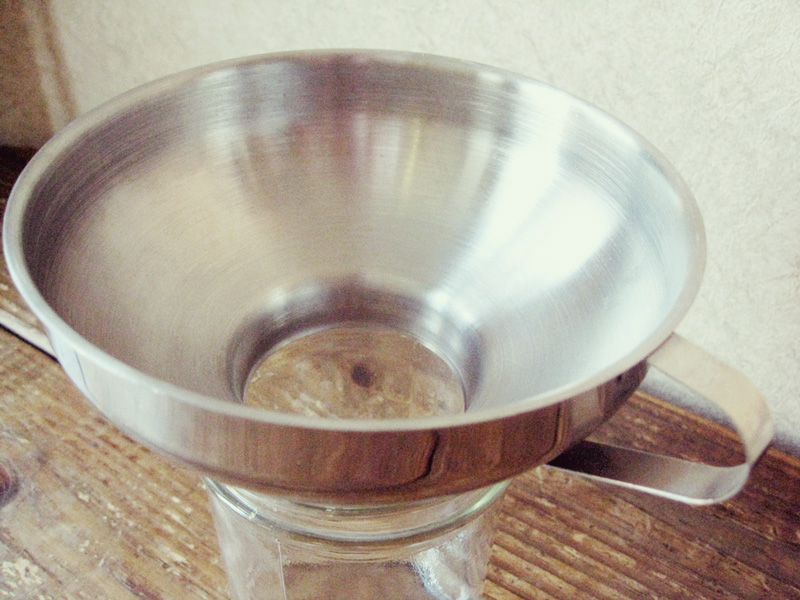
Canning funnel
This isn’t mandatory, but I would make a way bigger mess without it.
Food mill or food processor
Nice to have on hand for some recipes.
In the pantry
You might not need these ingredients the first time you can, but I’ve learned that these items are commonly found in canning recipes. It’s nice to have them on hand, so that if you come across a great selection of fresh fruit at the farmer’s market, for example, you can just go home and can it without stopping at the grocery store.
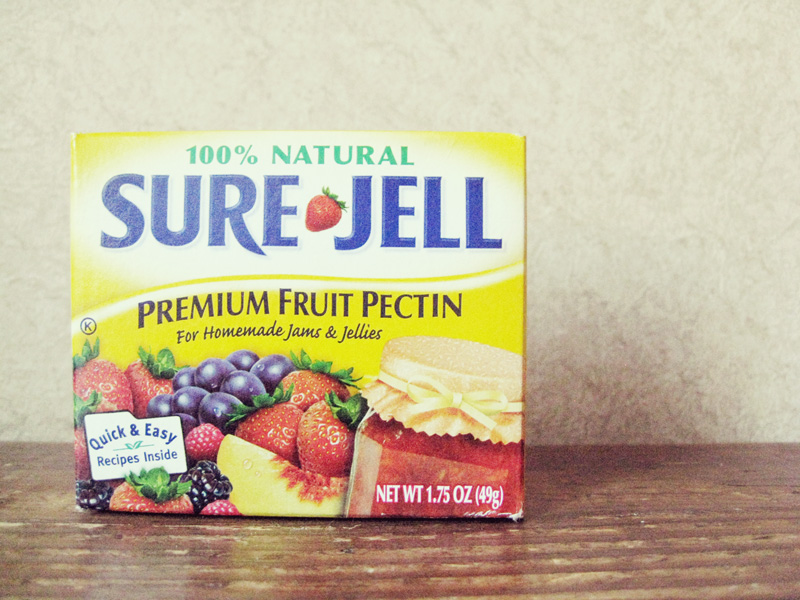
Pectin
Pectin is used for helping fruit achieve the thicker consistency you need for jams and jellies. Not all recipes will use it (some fruits have enough pectin in them to make jelly without adding extra). Pectin is available in powder or liquid form.
Lemon juice
Canned foods need to reach a certain acidity level to remain safely preserved when you’re canning with a water bath canner. Most recipes suggest using bottled lemon juice, because the acidity is regulated; the pH of the juice from a fresh lemon might be more unpredictable.
Vinegar and apple cider vinegar
Another ingredient that helps you reach the right acidity level.
Sugar or honey
The most common sweeteners for jams and jellies.
On my wishlist
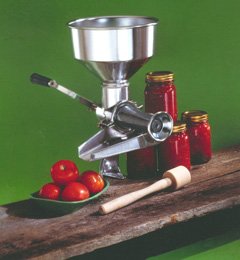 A Squeezo strainer
I’ve made homemade ketchup, and any way you slice it, separating the usable liquid from the pulp is ROUGH. (Molly knows what I’m talking about). From what I understand, this tool would make it easier. It will also make some mean apple sauce. But alas, it retails for $200. I don’t currently have that $200. But someday, I will own one of these.
Metallic lid lifter
This is a total novelty item, but I feel like this would be nice to own. It allows you to pick up just one lid out of a bowl of hot water. As awesome as I think it is…I still can’t justify buying it. What do you think?
A pressure canner
Like I said before. So I can can (ha!) even more stuff.
A few helpful tips for beginners
- Get all your tools and ingredients out before you start. It’s horrible to find out halfway through a recipe that you’re down to one box of pectin and you need three (happened to me once) or you realize that you can’t find your jar lifter and the jars are ready to come out.
- Allow enough time for it! Canning is a fun activity, but there is no doubt that it is time intensive. The fun quickly fades away when you’re in a time crunch…suddenly, the whole thing gets more stressful. I have a general rule of no canning on weeknights–I have to save it for the weekend when I have uninterrupted hours.
- This is one instance where you need to stick pretty close to the recipe, and only use approved canning recipes for preserving. There’s a whole science behind this, to make sure there is enough acidity in the food to keep bacteria from spoiling your food–don’t mess with science. Or food safety.
- Can with a buddy! There’s a lot of work to do when you’re cleaning, skinning and chopping produce, cooking it and canning it. It goes by faster when you have someone to keep you company.
- If you can, learn from someone with more experience than you. My aunt taught me how to can, and it’s immeasurably helpful to be able to ask questions when you’re new to this.
Have fun! To my readers who have canned before–is there any equipment that you use that I missed in the post? Let us know in the comments!