This is one of the first recipes I tried when I started making bread from scratch about three years ago. I’ve made it dozens of times since I found it, and, unlike most bread recipes I’ve attempted, I have never managed to mess it up beyond saving. (Ask my husband about the rock-hard ugly looking loaves we’ve thrown away on my various experiments.) Plus, it comes together quickly (no need to let it rise overnight), so you can make it even when you haven’t planned ahead very far.
To start, measure 1/2 cup of warm water in a measuring cup or small bowl, and add the yeast and a pinch of sugar (I’m not a scientist about this, but yeast needs to be warm to become active, and it likes to eat sugar. It seems to work, so I don’t ask questions.) Stir it, then let the yeast mixture sit while you collect the rest of the ingredients.
In a large bowl, combine the dry ingredients.
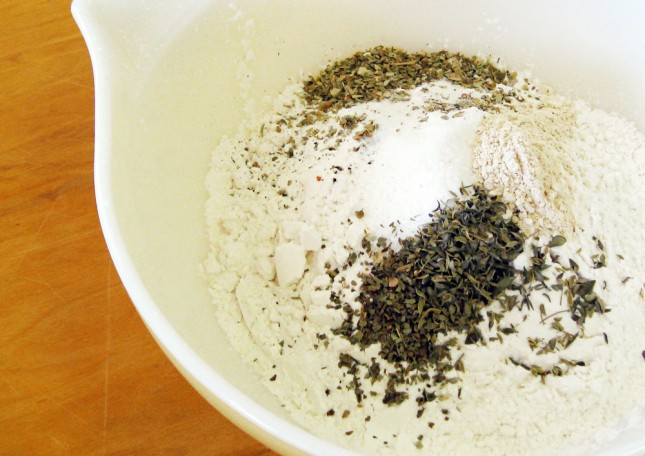
Stir the dry ingredients to distribute everything evenly.
By now you should be seeing little bubbles in your yeast bowl, and the top layer seems almost foamy. That means your yeast has woken up and is ready make some bread.
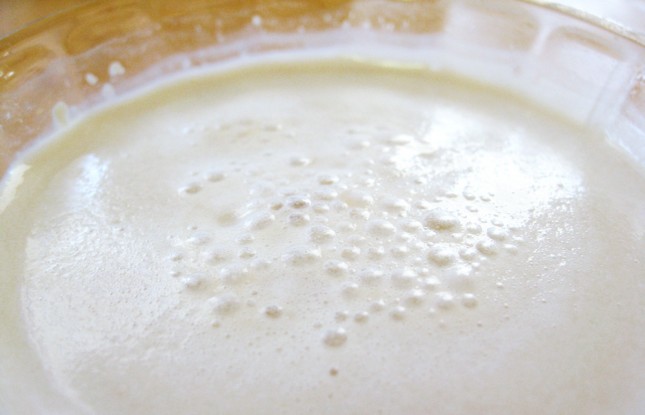
Pour it into your bowl of dry ingredients, along with the milk and oil (be careful to measure the liquid ingredients exactly).
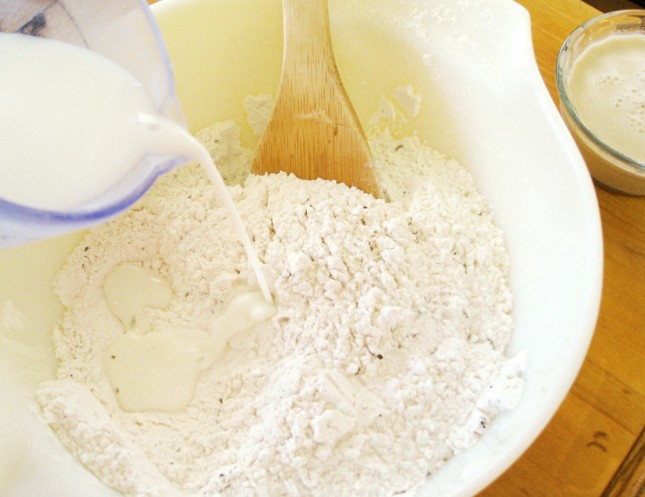
Mix with a spoon until it starts to come together. It will look like this after about 20 seconds of stirring:
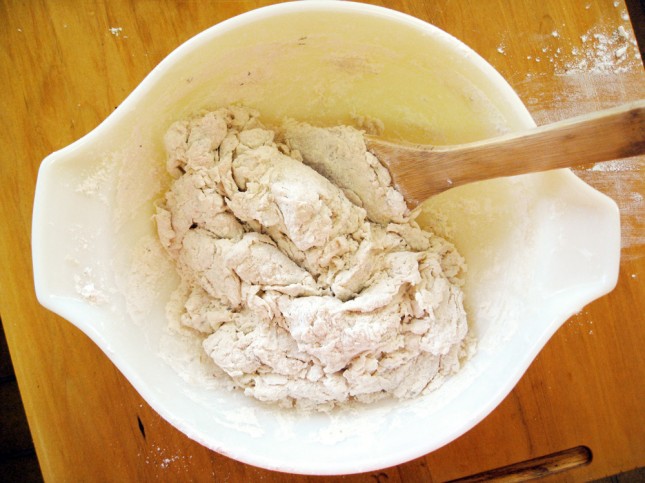
Dump the whole thing onto your counter and start to pull everything onto a pile and knead it. This is what kneading looks like:

You are done kneading when the bread starts to become elastic. Push it with your finger, and the bread will lightly spring back. I kneaded the bread for about two minutes for it to get to this point. Then, form it into a ball.
Pour a bit of oil in a clean bowl (less than a tablespoon), and use the loaf to spread the oil around the bowl, so the bowl and the dough are lightly coated. This will keep them from sticking together after the bread has risen.
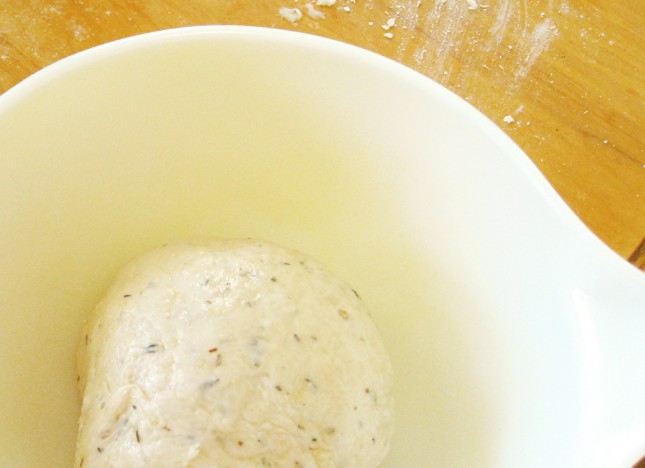
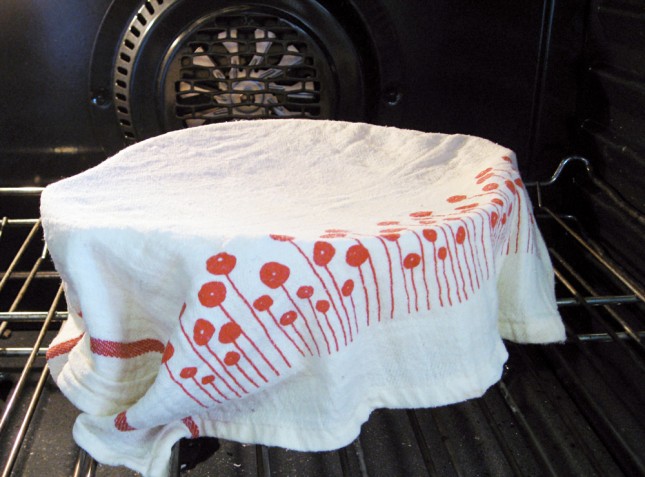
Completely wet a thin kitchen towel and wring it out as much as you can, then cover the bowl and put it in a warm place. My oven has a “Warm & Hold” setting. You can use a warmer drawer if you have one, or just set the oven to 200 degrees, then turn it off when it reaches temperature. Set a timer for 30 minutes.
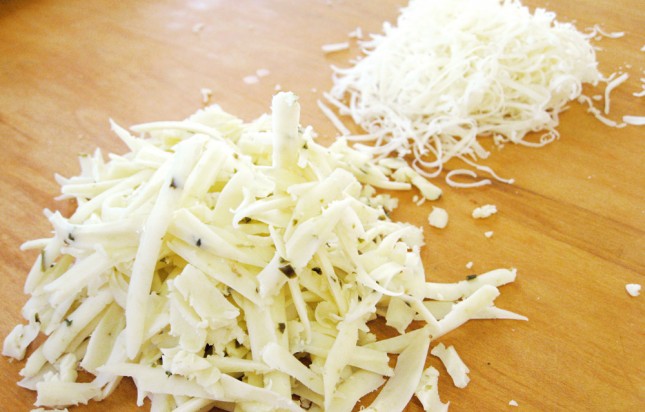
I like to clean up my dishes while I’m waiting for the bread to rise, then grate the cheese so it’s ready for later. (I used pepper jack cheese and parmesan today.) That won’t take 30 minutes, so if you want to sit and twiddle your thumbs for a while, that’s fine. Or you can gaze lovingly at your own pile of cheese.
DING-DING-DING! Pull the bowl out and check the dough–you want it to be about doubled from what it was before.
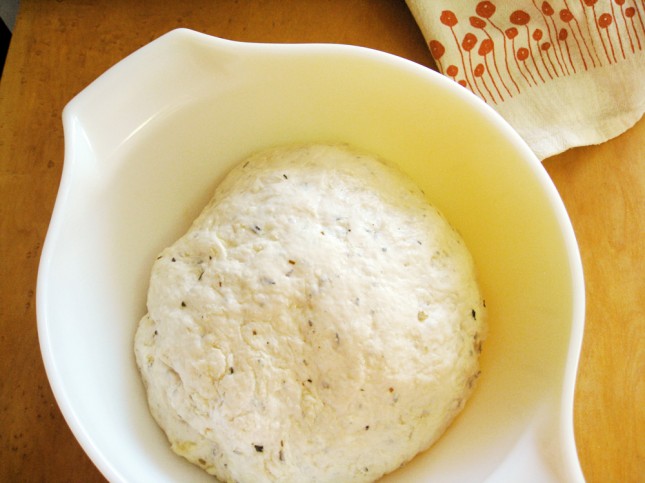
Punch the ball of dough. Not super hard, but hard enough to be fun. It will deflate slightly.
Lightly spray a pan with cooking spray. If you have cornmeal in your pantry, sprinkle a little bit on the pan (it helps the loaf to not stick to the pan, but it’s not strictly necessary).
Move the dough to the pan and arrange it into whatever shape you’d like. I normally do a big circle loaf, but I’m using a smallish pan today, so it’s something of an oval.
Pour a little olive oil on the top and brush to spread. Put the pan in the oven when it reaches 450 degrees.
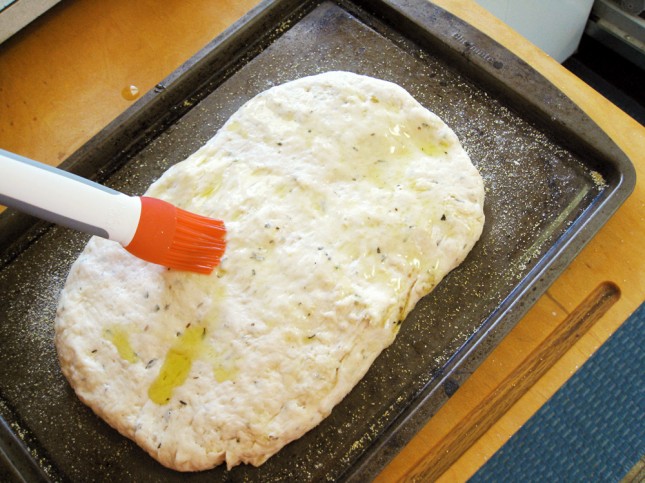
After five minutes, pull it out and arrange the cheese on top.
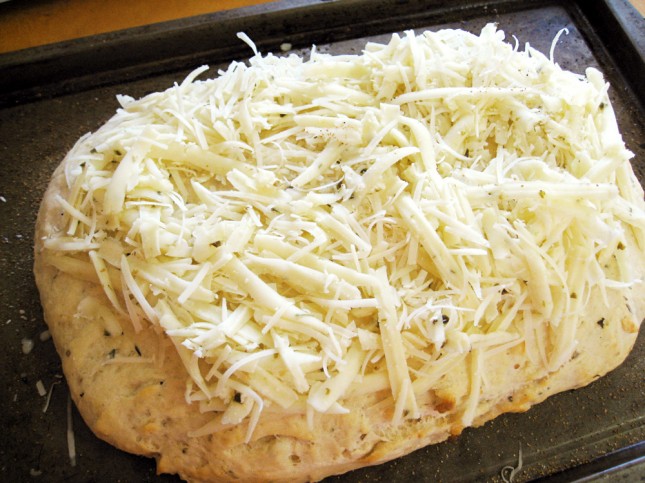
Put it back in the oven for another 10 minutes or so, or until the cheese is melted and the bread underneath is golden brown and delicious-looking.
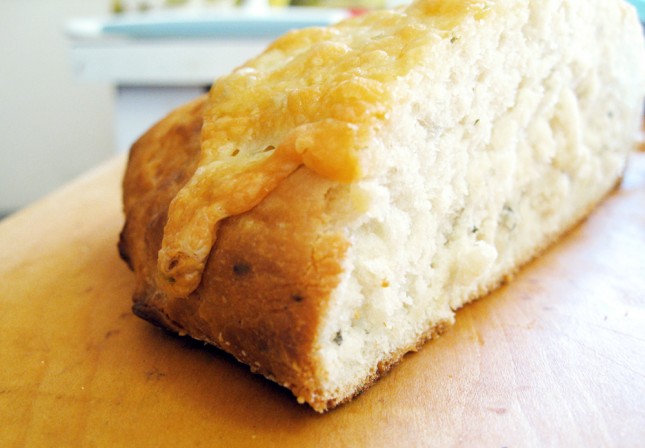
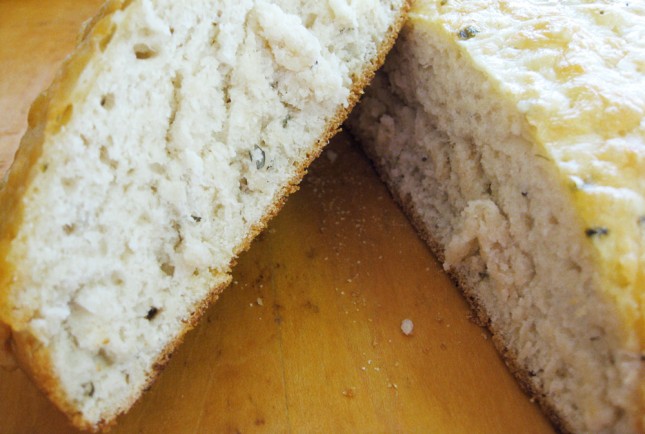
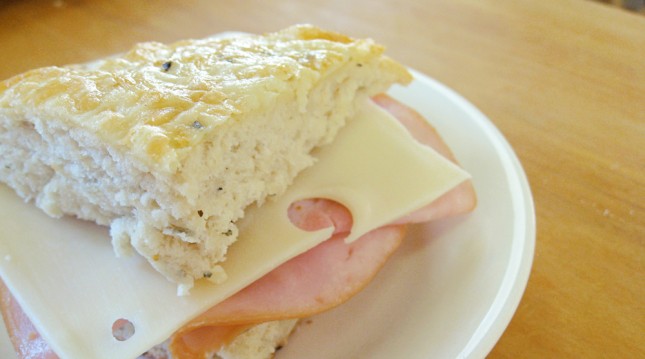
And now, it’s time to eat. I made a ham & Swiss for lunch―this focaccia makes great sandwiches. You could cut it into wedges and serve with olive oil & vinegar; cut it into cubes and dip it in a cheesy fondue; or just eat it plain. Delicious.
Tips & Adaptations
Now pay attention, because this is the reason I love this recipe so much: you can vary the ingredients however you like and it still turns out great (but leave the quantities of flour, yeast, and liquids as-is). It’s a fun recipe to experiment with, and it’s very beginner-friendly. Here are some of my own recommendations for adapting the recipe to suit your mood and taste:
- Don’t measure the herbs & spices! Use the recipe measurements as a guideline, but save time by eyeballing it and adding as much of each as you like.
- Try adding other spices that go well with Italian food, like rosemary, onion powder or chives.
- If you’re in a hurry and don’t want to dig through your pantry for all the different spices, try using a rounded tablespoon of Italian seasoning, which has many of the same flavors.
- Use all milk or all water instead of half of each, to see what you like best.
- Try substituting some or all of the white flour for wheat flour.
- Add some flair to the top of the loaf―try different kinds of cheese, or you can add minced garlic, tomato slices, more spices or chopped olives, for example.
- Double or triple the recipe to get more bread with a fraction more effort.
- This bread freezes very well when it’s wrapped tightly.
- Leftover bread can be made into homemade breadcrumbs―and they’re already seasoned!
- Vary the size and shape of the loaf however you like―traditional focaccia bread is made in a large rectangle on a flat pan, but try a big round loaf, or split the dough into 2 or 4 little loaves. You may need to adjust cooking time for smaller loaves. You can even try putting it in a loaf pan.
Easy Focaccia Bread Recipe
Adapted from Terri McCarrell’s version on AllRecipes.com
Hands-on time: 10 minutes
Cook time: 15-20 minutes
Ready in 1 Hour
Ingredients
- 2-3/4 cups all-purpose flour
- 1 teaspoon coarse salt
- 1 teaspoon white sugar
- 1 tablespoon active dry yeast (or 1 packet)
- 1 teaspoon garlic powder
- 1 teaspoon dried oregano
- 1 teaspoon dried thyme
- 1/2 teaspoon dried basil
- Ground black pepper
- 1 tablespoon vegetable oil
- 1/2 c warm water
- 1/2 c milk
- 2 tablespoons olive oil
- 1/2 – 1c cheese for top (Parmesean, mozzerella and Asiago work especially well)
Mix the yeast with warm water and set aside. Mix dry ingredients in a bowl. Add liquid ingredients and yeast mixture and mix until dough forms; turn out onto a floured surface and knead until the dough becomes elastic, about 2 minutes. Form dough into a ball and place in a bowl lightly coated with oil, cover with a damp cloth. Let rise for 20-30 minutes in a warm place, until dough doubles in size.
Preheat the oven to 450ºF. Arrange the dough on a greased baking sheet in a round or rectangle loaf. Lightly brush the top with olive oil. Bake for 5 minutes, top with cheese, then bake for an additional 10-15 minutes, until cheese is melted and bubbly, and bread edges are golden-brown.