I’m terrified of putting nail holes in walls.
It’s not because I live in a rental (although, the idea I’m sharing today is also great for apartments). I own my house, and the prerogative to take hammer to wall is all mine.
No, I’m more afraid of changing my mind. It took me four weeks to pick a shade of white to paint the TV room, for Pete’s sake. What if the picture is hung and I want it two inches lower? Or I rearrange the furniture and the placement no longer looks good and then there’s a tiny hole in the wall, FOREVER?
(I know you can fill holes. But honestly…I JUST DON’T DO IT, unless I’m painting the room. It’s the truth.)
All this to say: it takes a lot of psyching myself up to hang wall art.
We’re not going to argue the reasons behind my irrational fear of putting nails in walls today. Instead, we’re going to talk about the fabulous workaround I came up with one day, that accidentally became one of my favorite ways to decorate my house.
Washi tape, meet Instagram prints.
This story starts when I ordered a set of Instagram photo prints. You know how you take hundreds of photos on your phone no one ever gets prints anymore? Well, I found a great deal on a set of 25 Instagram prints through Artifact Uprising and decided to order some. I picked a bunch of favorites—some cats, a few of my husband and I, but mostly just random scenes that make me happy for one reason or another.
The day they came in the mail, I didn’t know exactly what I planned to do with them…but I spotted some washi tape on my desk, and immediately thought of a huge empty wall in my bedroom, and, voila:
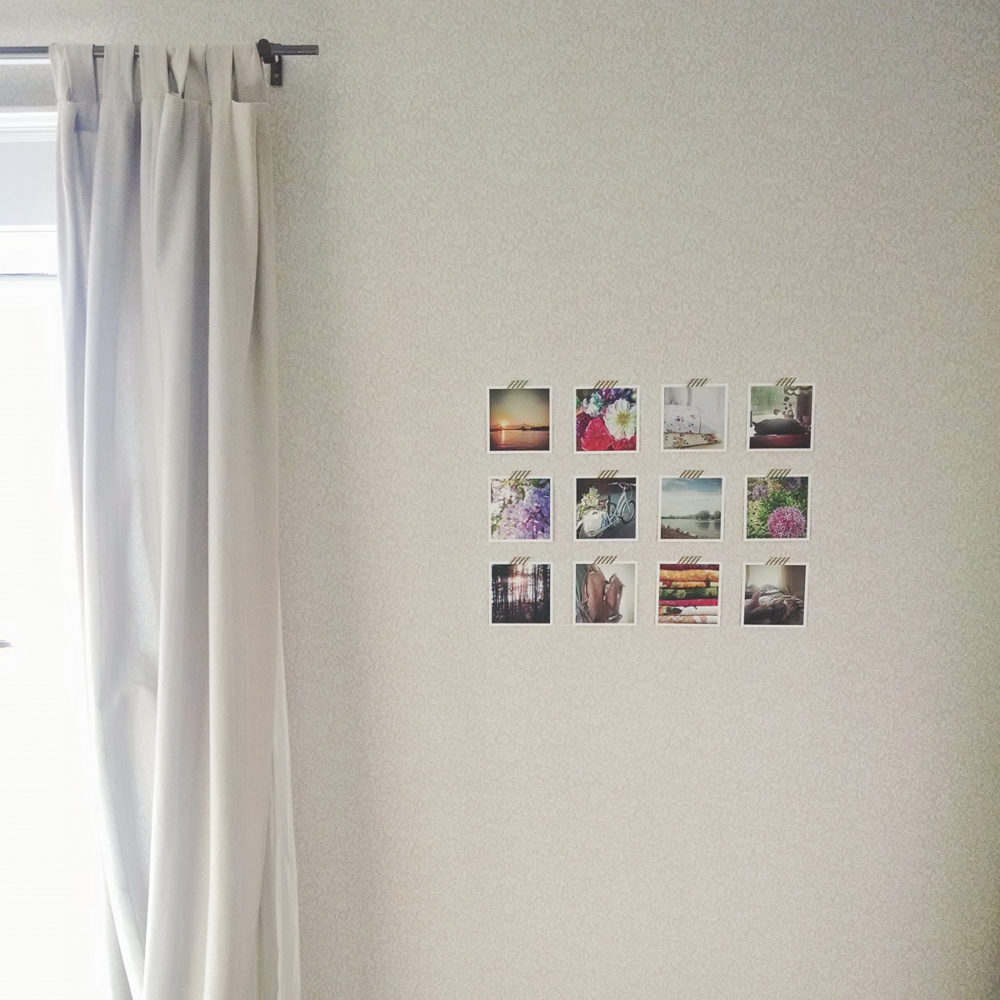
I hung them in a simple grid pattern, and my bedroom became instantly cozier.
Next, I hung a set of four prints in a column next to the bedroom door.
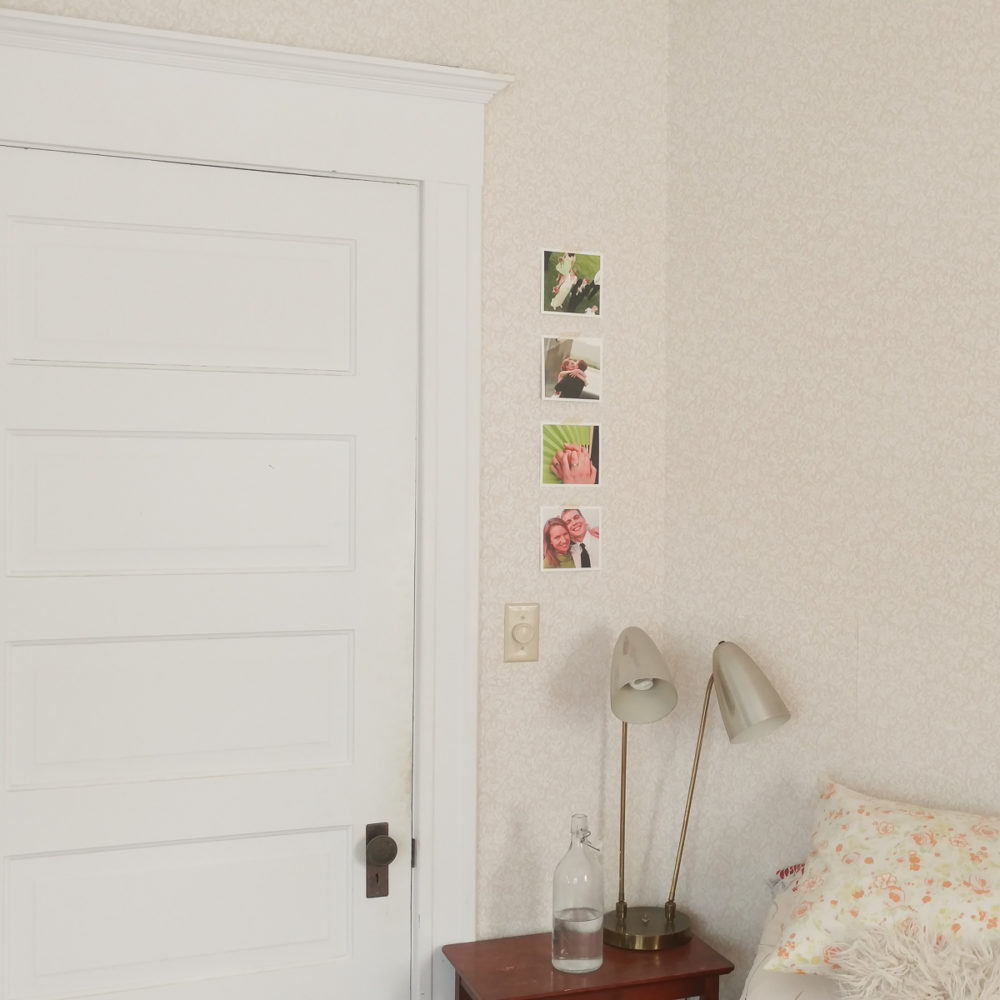
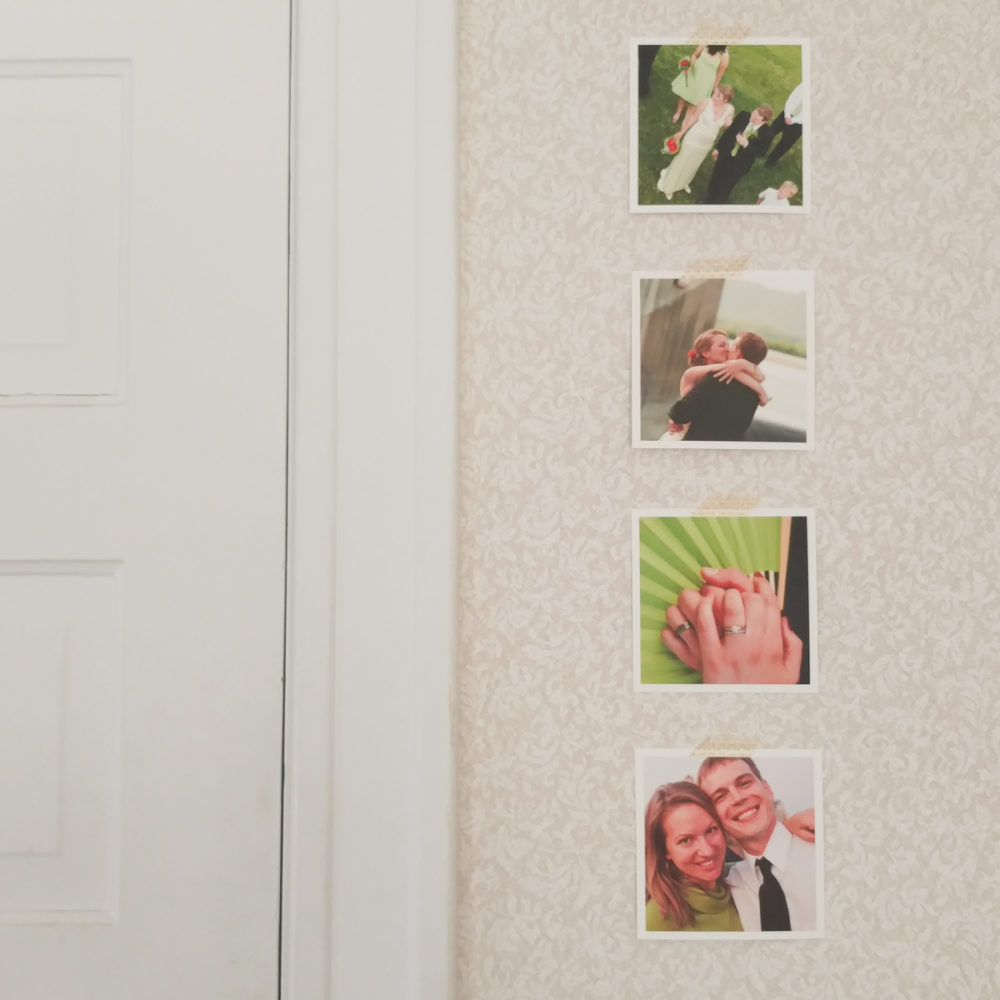
Here’s a close-up of that last shot. These happen to be among the only wedding photos in our house, even though we’ve been married seven years! (The last one is from my brother’s wedding…but the colors are just meant to be matched.)
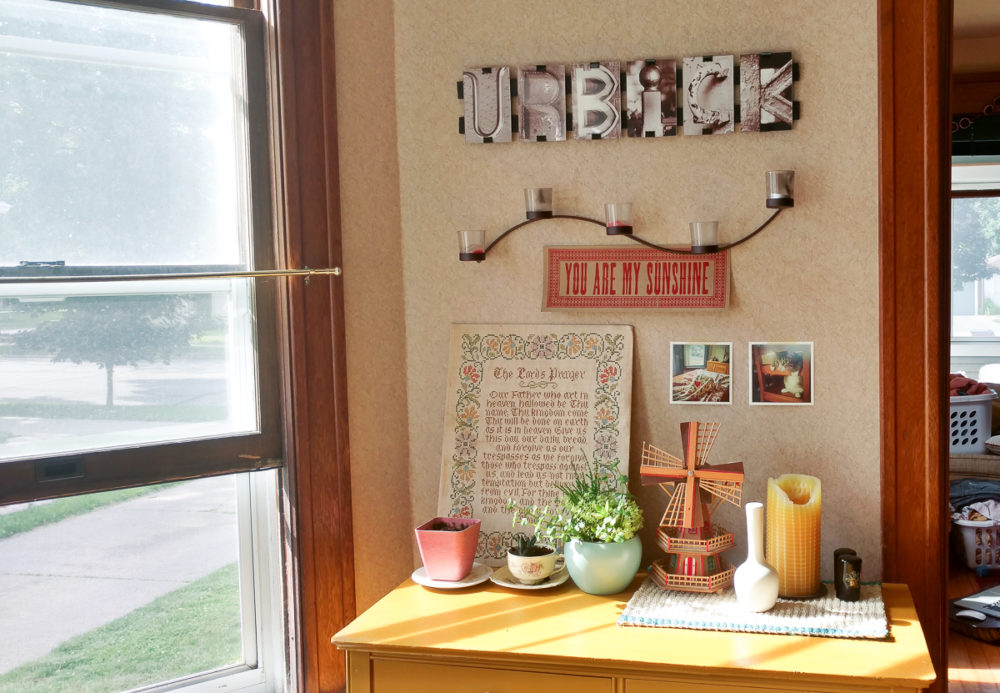
While I was on a roll, I stuck up a few snapshots in the dining room, amid an existing vignette of wall and tabletop decor. The two little squares were just the thing to complete the picture.
Now that you’ve gotten the tour, let’s talk about why this works so well.
- Hanging these photos took literally a minute. A few of them required an extra piece of tape stuck to the backside, but other than that, it was a quick job well done
- Washi tape comes off easily—so if I get the placement wrong or change my mind about an arrangement, I can just take it down
- This is a super inexpensive and simple way to add a bit of cohesiveness and cozy aesthetic to your decor, with extremely minimal effort…all while showcasing happy memories
Here are some tips for hanging your own photos with washi tape:
- Experiment with the angle when you cut your washi tape. It’s a slightly different effect when you cut a straight edge, 45 degree angle, or an arrow pointing inward or outward

- Similarly, the style of washi tape you use will also affect your aesthetic. So many lovely tapes to choose from!
- The repetition of an element—in this case, sets of photos—in two or three different places in a room (like my bedroom examples above) makes it look like your interior design is intentional and well-planned, so the room looks more cohesive. The same thing works with colors, patterns, shapes and textures!
- Place your photo grid on the floor before you hang it, so you can get the right arrangement. Check out my close-up example of the 3×4 photo grid below. Notice where the three close-up shots of flowers are—none of them are right next to each other. Same with the three far-off shots of water. It took me a few minutes of arranging and re-arranging the photos on the floor (and changing which ones were included in the grouping) to find a balance that looked just right.
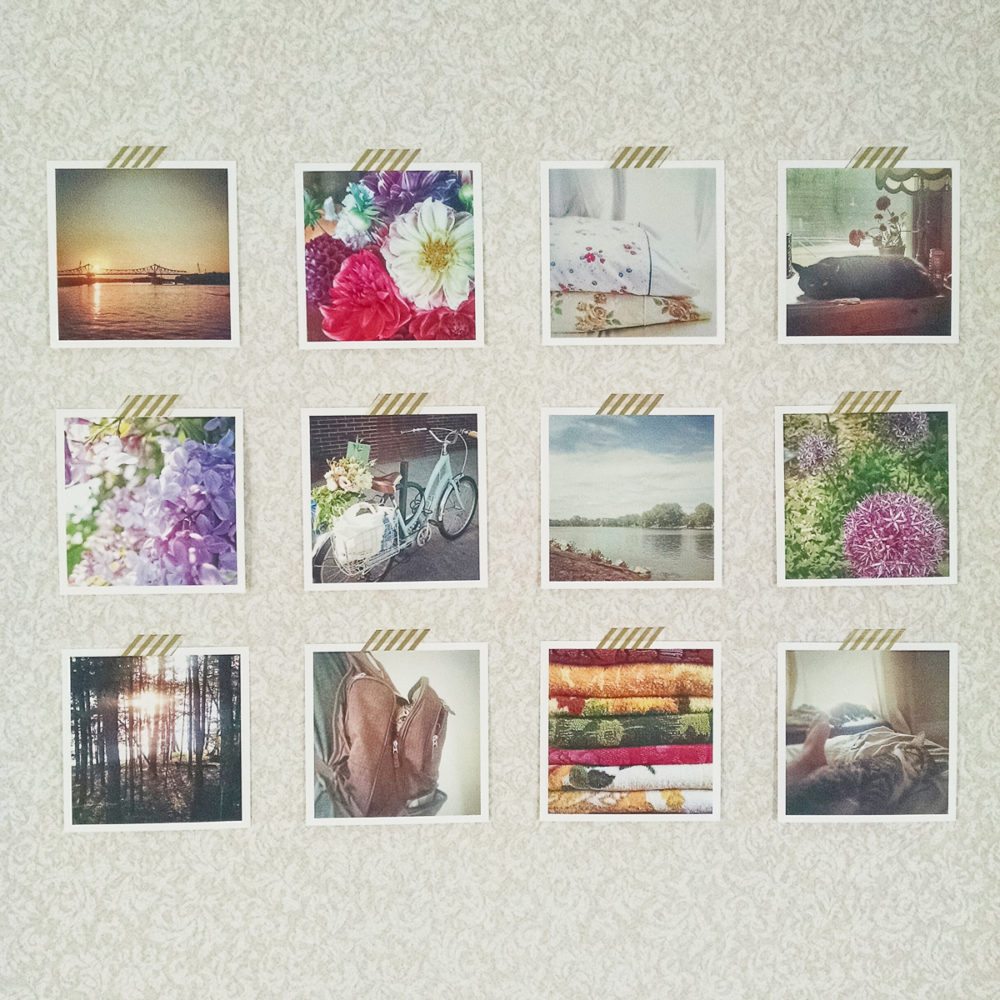
- You’ll get a completely different aesthetic if you vary the width between the photos or change up the baseline so they are aligned straight, or varied randomly. Best part is, you can just keep changing it until you find the perfect arrangement!
- If you have any leftover photos, pop them up in places you’ll see every day—next to the mirror in the bathroom, above the hook where you place your keys, or in a line next to a doorway, for example.
There you have it, friends! A ten-minute project to make your home feel more homey.
I’d love to hear what you think—do you get nervous about putting things on the walls…or do you just go for it? Tell me your own tips in the comments!